How to install Returnil Virtual System?
If you are installing Returnil Virtual System on Windows NT, 2000, or XP, please ensure that you have administrative rights. Returnil Virtual System must be installed in an account that has adequate permissions to perform its function. If you are unsure if you have the requisite permissions please contact your system administrator or refer to your computer's user guide before proceeding.
Step 1. Start installation
When the download is completed, go to "My Documents" and double-click on the "setup.exe" file to start the installation.

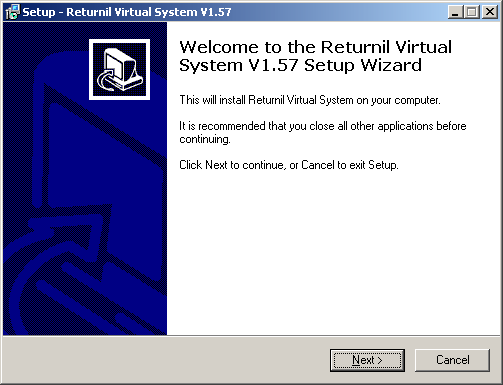
Step 2. Welcome Screen

Press "Next" to continue to the license Agreement Screen.

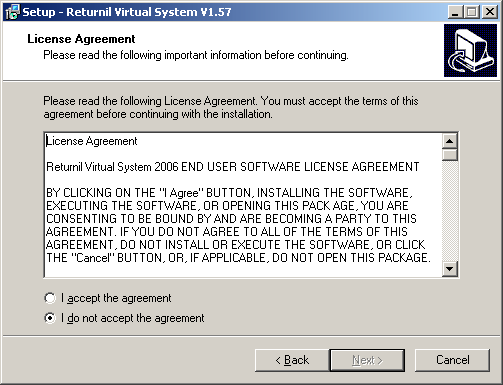
Please read the license agreement before you proceed. When you have completed reviewing the agreement and if you agree to the terms, click the checkbox next to "I accept the agreement" and press "Next" to continue with the installation of the software.
Step 3. Uninstall previous versions of Returnil Virtual System.
Returnil Virtual System may not function correctly if old versions are not removed prior to installing a new version or an upgrade. To ensure proper installation and operation of Returnil Virtual System it is recommended that uninstall previous version of Returnil Virtual System.
Click "Next" to continue with the installation of Returnil Virtual System
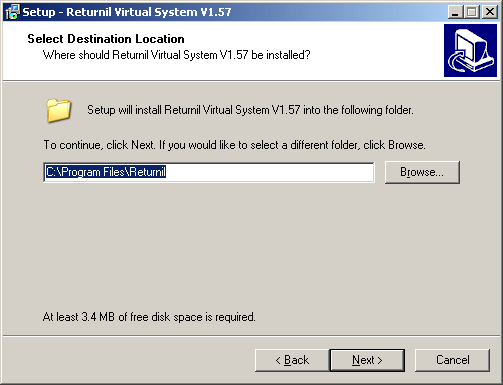
Step 4. Destination Location

Click "Next" to accept the default location or use "Browse" to specify where you want Returnil Virtual System installed.
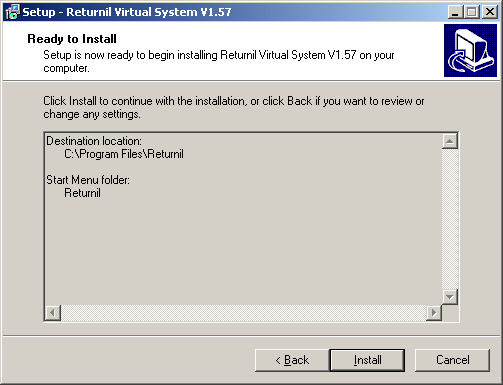
Step 5. Start Installation

Click" Install" to start installing Returnil Virtual System onto your computer. After the copying of files you will get a confirmation that the installation was successful.
Step 6. Installation successful
Click "Finish" to complete the installation process. You must restart your system to complete the installation.